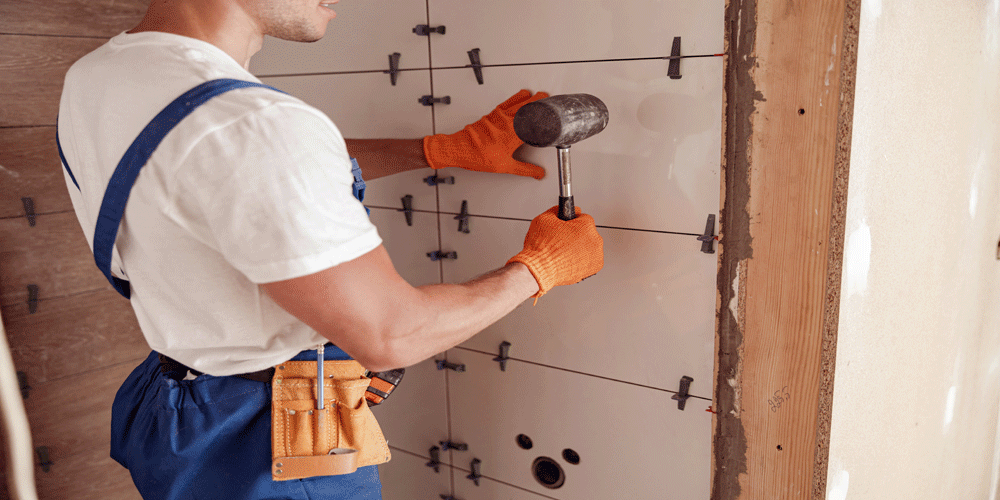
A Step-by-Step Guide: How to Tile Your Bathroom with New Wall Tiles
Tiling your bathroom walls can breathe new life into the space, transforming it into a stylish and inviting oasis. If you’re looking to tackle a DIY project and add a touch of elegance to your bathroom, tiling is a fantastic option. In this step-by-step guide, we’ll walk you through the process of tiling your bathroom with new wall tiles, ensuring that you achieve a professional-looking result.
Materials and Tools You’ll Need:
- Wall tiles of your choice
- Tile adhesive
- Notched trowel
- Tile spacers
- Tile cutter or wet saw
- Level
- Measuring tape
- Grout
- Grout float
- Sponge
- Tile sealer (optional)
- Safety goggles and gloves
Step 1: Prepare the Surface Before you begin tiling, it’s crucial to prepare the surface properly. Remove any existing tiles, wallpaper, or debris from the walls. Ensure the walls are clean, dry, and smooth. If necessary, use a patching compound to fill in any holes or imperfections. Allow the compound to dry thoroughly before proceeding.
Step 2: Measure and Plan Measure the height and width of each wall to determine the number of tiles you’ll need. It’s a good idea to make a layout plan on paper, noting any cuts or patterns you want to create. This will help you visualize the end result and ensure an even distribution of tiles.
Step 3: Apply Tile Adhesive Using a notched trowel, apply a layer of tile adhesive to a small section of the wall, starting from the bottom. Hold the trowel at a 45-degree angle to create grooves in the adhesive. This will help the tiles adhere securely. Work in small sections to prevent the adhesive from drying out before you can apply the tiles.
Step 4: Place the Tiles Carefully press each tile into the adhesive, starting from the bottom and working your way up. Insert tile spacers between each tile to maintain even gaps for grouting. Use a level to ensure the tiles are straight and level as you go. If necessary, make cuts using a tile cutter or wet saw to fit the tiles around corners, fixtures, or outlets. Continue this process until all the tiles are in place.
Step 5: Allow for Setting Time Once all the tiles are installed, allow the adhesive to dry and set according to the manufacturer’s instructions. This typically takes 24 to 48 hours. Avoid any excessive moisture or contact with the tiles during this time.
Step 6: Apply Grout Mix the grout according to the manufacturer’s instructions. Using a grout float, spread the grout over the tiles, ensuring it fills the gaps completely. Hold the float at a 45-degree angle and work diagonally across the tiles to prevent pulling out the grout. Remove any excess grout from the surface using the edge of the float.
Step 7: Clean and Seal After approximately 10 to 20 minutes, when the grout has slightly dried, use a damp sponge to wipe away any grout haze from the tiles. Rinse the sponge frequently to ensure a clean finish. Allow the grout to cure for the recommended time before applying a tile sealer if desired. The sealer will protect the tiles and grout from moisture and stains.
Tiling your bathroom with new wall tiles can be a rewarding and transformative DIY project. By following these step-by-step instructions, you’ll be able to create a beautiful, professional-looking tiled bathroom that will leave you proud of your accomplishments. Take your time, pay attention to detail, and enjoy the process of bringing new life and style to your bathroom.
